
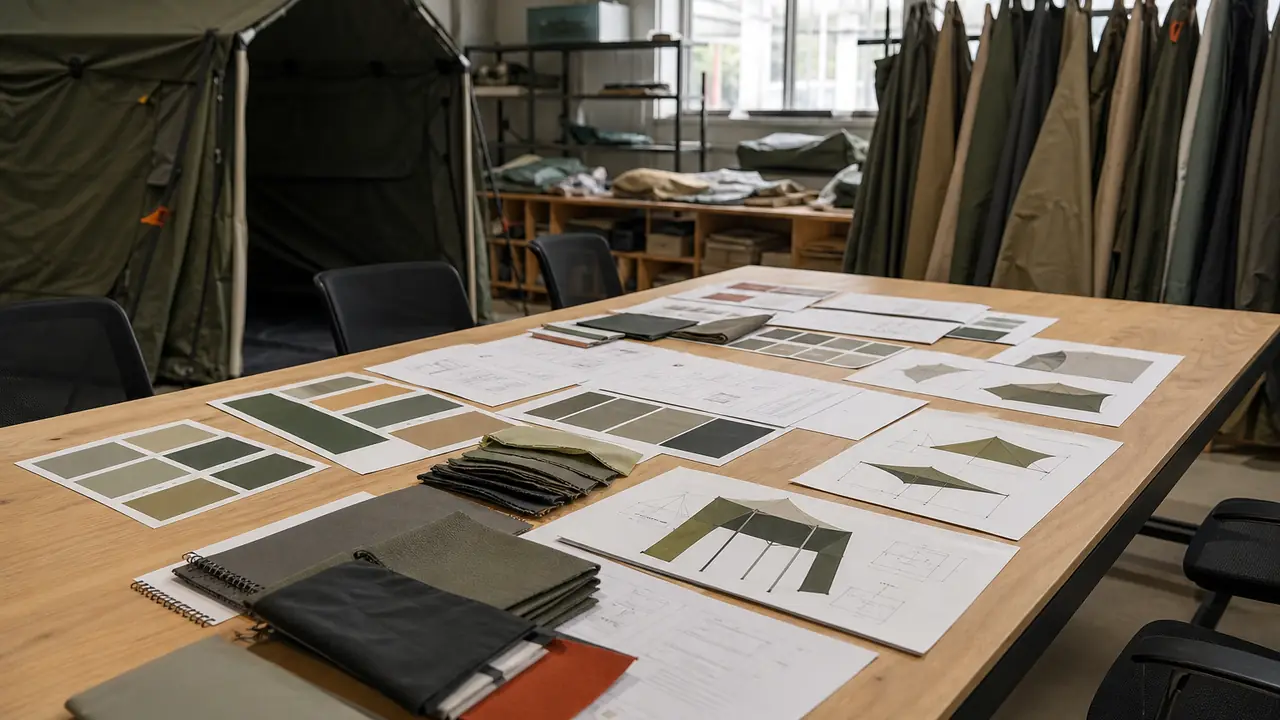
What private label covers
On a private label order the partner factory already makes the structure. You change what the customer sees and touches: fabric colours, logo placement, labels, zip pullers, the carry bag, the manual and the packaging. The structure, patterns and tooling stay with the factory; if you need to own them, see the OEM vs ODM note. Typical starting quantities for existing styles with your branding are 300-500 tents per style, and 20-50 sets per style for 10x10 canopies and printed kits, confirmed in writing for each order.
Where branding goes on a tent
| Position | Common methods | Notes |
|---|---|---|
| Fly panel or door | Screen print, heat transfer, reflective print | Print over seams can affect taping; keep logos on flat panels |
| Inner tent | Woven label, small print | Usually a sewn label near the door |
| Zip pullers and guy line tabs | Branded pullers, coloured cords | Low cost, high perceived quality |
| Carry bag | Screen print, woven label, patch | The most visible brand surface after purchase |
| Canopy top and valance | Screen print one colour, dye-sublimation full colour | Valance logos are seen from a distance |
| Canopy walls and flags | Dye-sublimation | Back wall and half walls carry most of the message |
| Manual, labels, box | Offset or digital print | Must carry the compliance information |
Choosing a print or label method
Screen print
Screen printing suits one or two flat colours on bags, flies and canopy valances. Each colour needs a screen, so the set-up is per colour and design. On coated fabrics, check adhesion and flexibility after folding; a logo that cracks at the fold line is a common complaint.
Dye-sublimation
Dye-sublimation is the standard for full-colour custom canopies. The design is printed on transfer paper and set into 600D polyester under heat. It suits photos, gradients and large areas, and the printed area is part of the fabric rather than a layer on top. It needs artwork on the factory template, a colour proof and a first printed top for approval. See the print methods comparison and the canopy printing page.
Woven labels, patches and pullers
A woven label at the door, a rubber or woven patch on the bag and branded zip pullers make a tent feel finished at low cost. They come from separate suppliers with their own minimums and lead times, so order them early.
Colours: fabric and brand
Brand colours on tent fabric are matched by dyeing, and a custom colour means a fabric lot. Supply a physical swatch or a recognised colour code, approve a lab dip on the actual fabric and check it in daylight. Dark flies absorb heat; very light flies show dirt. Colours also fade with UV exposure, more on some fabrics than others, so keep a sealed swatch with the golden sample for comparison on reorders. Printed canopies need a printed colour proof; screen colours on monitors are not a reliable reference. The print fading note covers the causes.
Carry bags and packaging
The carry bag is often the first thing a customer sees and the part they keep longest. A stock bag in your colour with a printed logo is the simplest option; a custom bag with a different shape, compression straps or a wheeled base adds cost and minimums. Retail boxes need photography, size and capacity information, barcodes and claims that match the test reports. Many first-season brands use a branded bag and a plain carton with a label, then add a printed box on the reorder. The packaging note covers cartons and drop tests.
Manuals and compliance labels
Private label means your brand name is on the product, so the labelling responsibility is yours as the brand owner. The partner factory and the desk prepare the content; you confirm it for your market.
- EU: GPSR (EU 2023/988) has applied since 13 December 2024 and requires product identification, manufacturer and EU responsible person details and safety information. Camping tents are usually tested to EN ISO 5912.
- US flame resistance: where a buyer or state requires it, the label refers to fabric tested to CPAI-84 or ASTM F3431 per report, never a certified claim.
- Kids play tents: US sales need CPSIA work, ASTM F963 testing, a children's product certificate and tracking labels; Canada needs permanent warning labels.
- UV claims: UPF per AATCC 183 report for the US, UVE per AS 4174 for Australia and New Zealand.
- Waterproofing: waterproof-rated fabric with hydrostatic head per ISO 811 test report.
Confirm final label content with your test lab or compliance adviser. The labels and instructions note lists what to print and pack.
Making a stock style look like your own
Because the structure of a private label tent is shared, the brand has to come from the details. A few choices make the biggest difference for a modest cost:
- A signature colour pairing. One fly colour and one contrasting trim, such as guy lines, pullers and webbing, used across every size in the range.
- A consistent logo position. The same place on every tent, bag and canopy valance, so the range reads as one family on a shelf or a campsite.
- A better manual. A clear pitch sequence with numbered steps, a contents list with pictures and care advice on drying and storage. It reduces support questions and returns.
- Useful extras. A spare stake bag, a small repair kit or reflective guy lines are inexpensive and visible in reviews.
These details are also the parts a competitor buying the same stock style is least likely to copy exactly.
Keeping the brand consistent across orders
Record every branding decision in the spec sheet: logo files, positions and sizes, methods, Pantone or fabric colour codes, label content and packaging artwork versions. Seal it with the golden sample and photograph each position. On reorders and on new styles in the range, the same file ensures that logos, colours and labels match, even if a second partner factory is involved. Inspection should check logo position, colour and print adhesion against the golden sample.
Next step
Send your logo files, colour references and target styles through the quote form. The OEM and private label page shows branding options by line.