
Three audiences, one label set
A tent's labels and printed matter serve three readers. Inspectors and regulators need test names, registration numbers, warnings and traceability. Retailers and warehouses need product identification, barcodes and carton marks. End users need to know how to pitch, anchor, ventilate, clean, dry and store the tent. Each reader looks in a different place, so the label plan should decide what goes on the sewn-in label, what goes on the bag or box, what goes in the instructions and what goes on the shipping carton.
Labels are also easy to get wrong in ways that are hard to fix after bulk: a claim with no report behind it, a batch number that does not match production records, a warning in the wrong language. Approve all label and print artwork with the golden sample, before bulk production starts.
The label set by product type
| Item | Camping tents | Canopies and event tents | Kids play tents |
|---|---|---|---|
| Flame resistance label | Test name per report, or the agreed warning label under ASTM F3431 | NFPA 701, CPAI-84 per report; CSFM number and seal for California | As agreed with the lab for each market |
| Warnings | Heat sources, ventilation, anchoring | Anchoring, strong wind take-down, heat sources | Permanent warning label for Canada; ASTM F963 warnings where applicable |
| Traceability | Model and batch; GPSR data for the EU | Model and batch per top and wall | CPSIA tracking label on product and packaging |
| Material and care | Fibre content, care, origin | Fibre content, care, origin | Fibre content, care, origin |
| Instructions | Pitch sequence, pole map, peg and line count | Set-up, weights per leg, wall fitting | Assembly, adult supervision notes |
Flame resistance labels
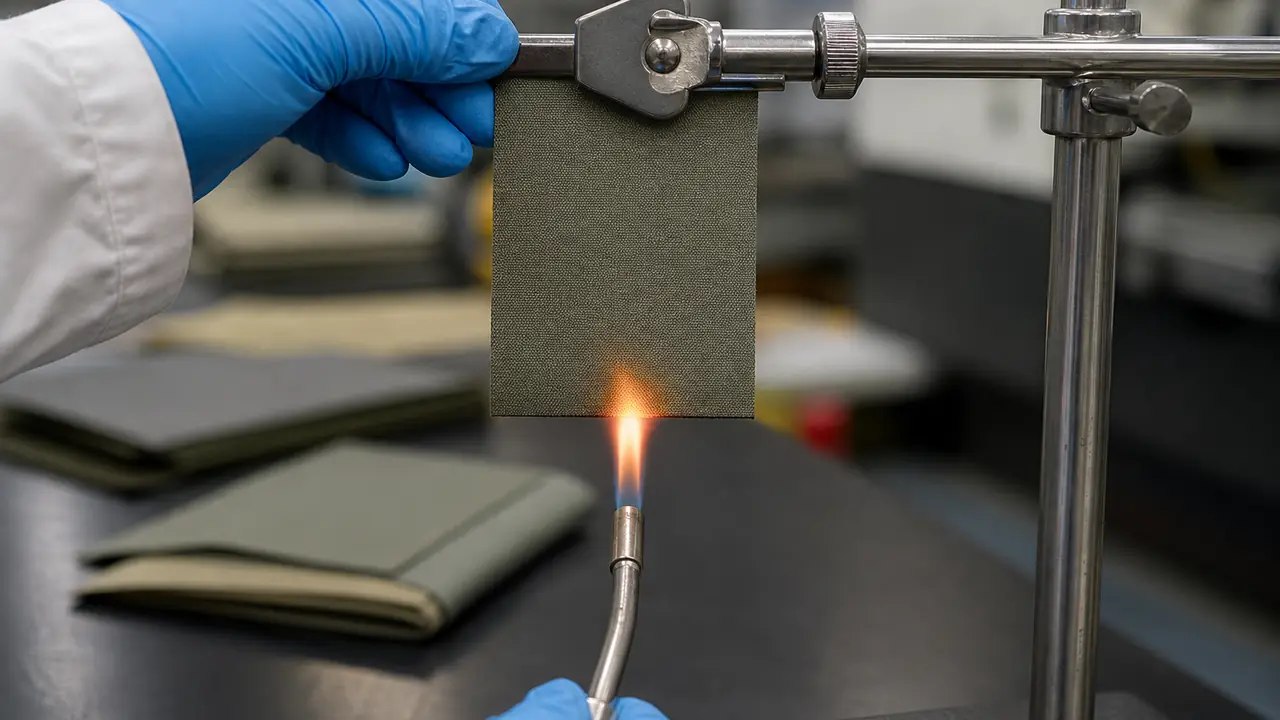
For canopies and event tents the sewn-in flame resistance label is what a fire inspector checks on site. It should name each test the fabric has passed per report, and for California carry the State Fire Marshal registration number and seal under Title 19. Sew one into each top and each wall, not only the carry bag. Every test named on a label needs a matching report on the same fabric code and colour; see NFPA 701 for event tents.
For camping tents, ASTM F3431 allows a warning label route for tents that are not intended to be used with stoves or heaters. If you take that route, the label wording, size, position and permanence are the compliance deliverable and should be agreed with your test lab. Background is in tent flame resistance rules.
Tracking, identification and GPSR
- Children's products in the US. Play tents need permanent tracking labels on the product and packaging, linking to the maker, production date and batch. See kids play tent compliance.
- The EU. Under GPSR, consumer tents carry the manufacturer's name, postal and electronic address, the EU responsible person where relevant, and a product identifier such as model and batch.
- All markets. A model and batch number on the main label, the bag and the carton makes returns, claims and spare part orders traceable.
What the instructions should cover
A good instruction sheet reduces returns as much as a better pole does. Customers who cannot pitch a tent, or who pitch it badly and get wet, tend to blame the product. The instructions should be specific to the model, use drawings rather than paragraphs, and match the parts in the bag.
- Parts list. Every part with a count: poles by colour or length, pegs, guy lines, sandbags, repair sleeve, carry bag.
- Pitch sequence. Step drawings from laying out the inner to tensioning the fly, with the order of clips and sleeves.
- Anchoring plan. Where each peg and guy line goes. For canopies, about 40 lb (18 kg) of weight per leg as an industry convention, more with walls fitted; sandbags on sand.
- Weather notes. Take canopies down in strong wind; re-tension lines when fabric gets wet; no wind rating.
- Ventilation and heat. Keep vents open to limit condensation; keep stoves, heaters and open flame away unless the product is built and tested for them.
- Care and storage. Clean with water, dry fully before storage to prevent mould, store away from heat and sun, re-proof DWR as needed.
- Take-down and packing. The fold that gets the tent back into its bag.
Bags, boxes and cartons
Retail packaging carries the brand, model, size, capacity, barcode, the key material facts and, where relevant, the UV statement for that market. UV claims follow the market: UPF per AATCC 183 in the US, UVE per AS 4174:2018 in Australia and New Zealand. Shipping cartons carry the model, quantity, gross and net weight, carton dimensions, batch and country of origin. Commercial canopies ship one set per carton at about 158x27x27 cm for the reference model. Cartons are commonly drop-tested to ISTA 1A before bulk. See packaging and palletizing.
Languages and versions
Instructions and warnings normally need the language of the country of sale. Plan a master English file and translations per market, and keep a version number on each printed piece so the right version goes into the right carton. Market-specific labels, such as a CSFM seal for California or a permanent warning label for Canada, are easier to handle as separate sewn-in labels than as one label that tries to cover every market.
When to approve what
Approve label and print artwork during the sample stage, typically 7-15 days, so the golden sample carries the real labels. Bulk then runs about 30-45 days for standard builds and 45-60 days for custom builds, confirmed in writing per order. At pre-shipment inspection the desk checks labels, inserts and carton marks against the approved artwork and verifies the test reports behind every claim per order. Reports are issued to partner factories or brands per order. See OEM and private label and MOQ and lead time, or send your label plan through the quote form. For the legal content of any label, confirm with your test lab or customs broker.