
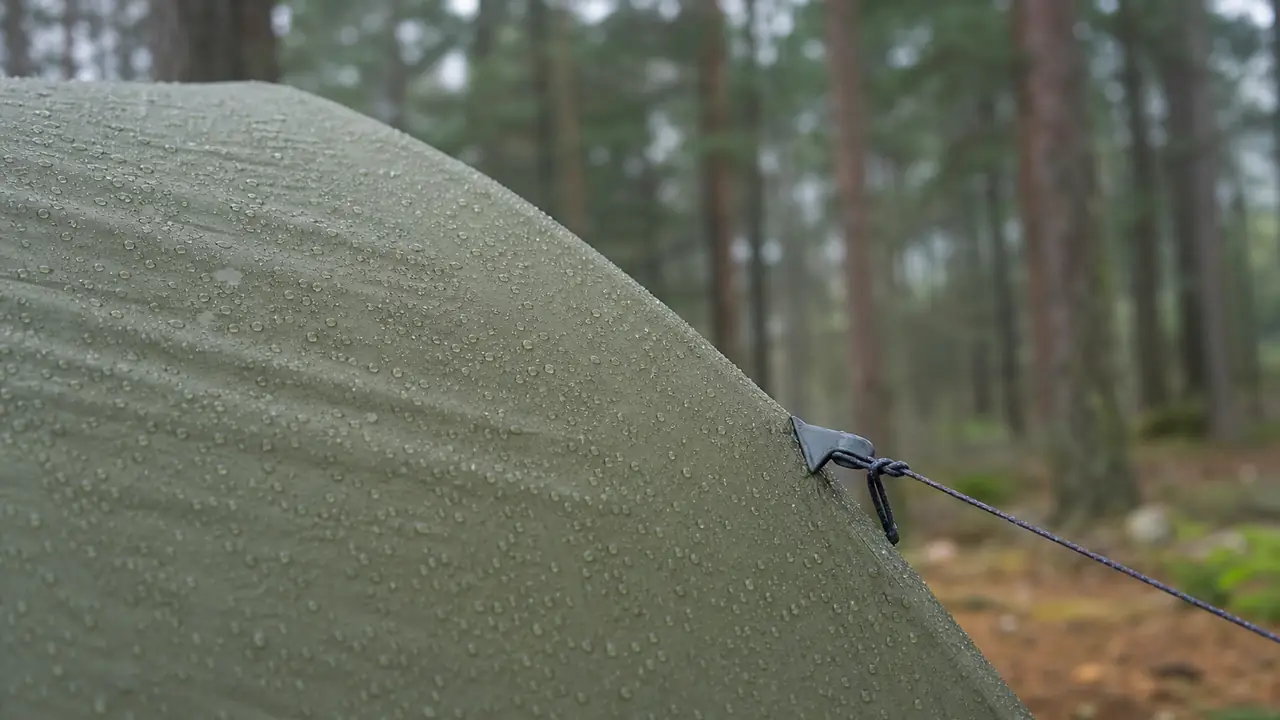
Waterproofing is a system, not a coating
Consumer advice on waterproofing a tent usually means re-treating an old one: a spray of DWR on the fly and a tube of seam sealer along the stitching. For a brand or distributor buying hundreds of tents, the question is different. What has to be specified so that the tent leaves the partner factory water-resistant, and stays that way through a reasonable life of use? The answer has six parts: the base fabric, the coating, the outer finish, the seams, the floor and the closures. Pitch and ventilation then decide how the whole system behaves in rain.
Fabric and coating
Most camping tent flies use 68D or 75D polyester in 185T, 190T or 210T constructions; lightweight tents use 20D to 40D nylon ripstop. The cloth itself is not water-resistant. The coating does that job:
- PU coating on polyester is the common choice for family tents. It bonds well with seam tape, which makes heat-sealed seams practical. It ages with UV, heat and damp storage.
- Silicone coating, often on nylon, is lighter and slippery, sheds water well and ages more slowly, but ordinary seam tape does not stick to it, so seams are usually sealed with a liquid sealant.
- Silicone outside, PU inside is a hybrid used on some lightweight flies, to get the outer finish of silicone with a tape-friendly inner face.
The coating result is measured as hydrostatic head under ISO 811. That figure belongs on the spec sheet next to the fabric code; see hydrostatic head explained for how to read it.
Outer finish: DWR
A durable water repellent finish makes rain bead and roll off the outer face instead of soaking into the yarns. It does not replace the coating; it keeps the fabric from wetting out, which helps the fly dry faster and stay lighter in rain. Many markets now ask about the chemistry. The working phrase is a fluorine-free DWR option, verified by test report where the market requires it. Buyers selling into the EU should note the PFHxA restriction for non-apparel textiles applies from 10 October 2027, and should confirm their own market's rules with a test lab.
Seams
Every stitch line is a row of holes. On PU-coated fabric the standard fix is heat-applied seam tape on the inside of the fly, pressed on by a hot air taping machine. On silicone fabric, factories brush on a seam sealant instead. What a buyer should specify:
- Which seams are taped: fly only, fly and floor, or all exposed seams.
- Tape width and type, and whether the tape covers corner and pole-sleeve joins.
- A water spray check on the pitched sample and on sampled bulk tents.
Seam work is the main leak source in returns, so it deserves its own line in the inspection plan; see tent seam taping.
Floor, zips and pitch
The floor is usually 150D to 210D oxford or PE. A bathtub floor carries the floor fabric up the walls before the first seam, so the stitching sits above standing water. Welded PE floors, used on many instant tents, avoid stitched floor seams altogether. A footprint or groundsheet adds protection against abrasion.
Zips let water in when they are not covered. Specify storm flaps over door and window zips, a drip edge at the top of each door, and zip sizes that suit the fabric weight. Finally, pitch: a fly that touches the inner tent will wick water through by contact. Correct pole lengths, tension straps at the corners and enough guy points keep the fly clear of the inner.
The waterproofing spec at a glance
| Element | Typical options | How it is checked |
|---|---|---|
| Fly fabric | 68D/75D polyester, 20D-40D nylon ripstop | Denier, thread count, fabric code against swatch |
| Coating | PU, silicone, silicone/PU hybrid | Hydrostatic head per ISO 811 test report |
| Outer finish | DWR, fluorine-free DWR option | Spray rating and chemistry per test report where required |
| Seams | Heat-sealed tape or liquid sealant | Visual check and water spray on pitched sample |
| Floor | Oxford or PE, bathtub or welded | Floor HH report, seam height, visual check |
| Closures | Storm flaps, covered zips, drip edges | Pitch test and spray check at doors and windows |
Common gaps in waterproofing briefs
Most of the leak complaints the desk sees trace back to a brief that fixed the fabric figure and left everything else open. A few gaps come up again and again:
- Fly figure only: the brief names a fly HH but not the floor fabric, so the floor is chosen on cost and becomes the weak point.
- Seams taped, but which ones: the fly is taped, the floor corners and pole sleeves are not, and water enters where the pole meets the floor.
- Colour change without re-test: a new colourway comes from a different dye lot or coating run, and nobody asks for a fresh report.
- Window panels: clear PVC windows are welded or stitched into the fly; their seams need the same attention as the rest.
- Vents left open by design: a high vent without a hood lets driven rain in. Specify hooded vents with a stiffener so they hold their shape.
Closing these gaps costs little at the spec stage and a great deal after the containers have landed.
Care that keeps a tent water-resistant
Most waterproofing failures after the first season come from storage, not from the factory. A tent packed away wet grows mildew, which damages coatings and leaves stains. Heat and long sun exposure break down PU over time. The care card packed with the tent should tell customers to dry the tent fully before storage, keep it out of hot car boots and attics, clean it with water rather than detergents, and re-proof the outer face with a DWR product when water stops beading. Clear care instructions reduce returns as much as any fabric upgrade; see tent mold and mildew prevention.
Turning it into an order
Write each element above into the spec sheet, ask for the fabric reports with the sample, and approve a golden sample after a pitch test and spray check. The desk then holds bulk production to that sample at pre-shipment inspection. Existing styles with your branding typically start at 300-500 tents per style, confirmed in writing per order; see MOQ and lead time. For the full method behind each check, read seams and waterproofing, then send your brief through the quote form.