
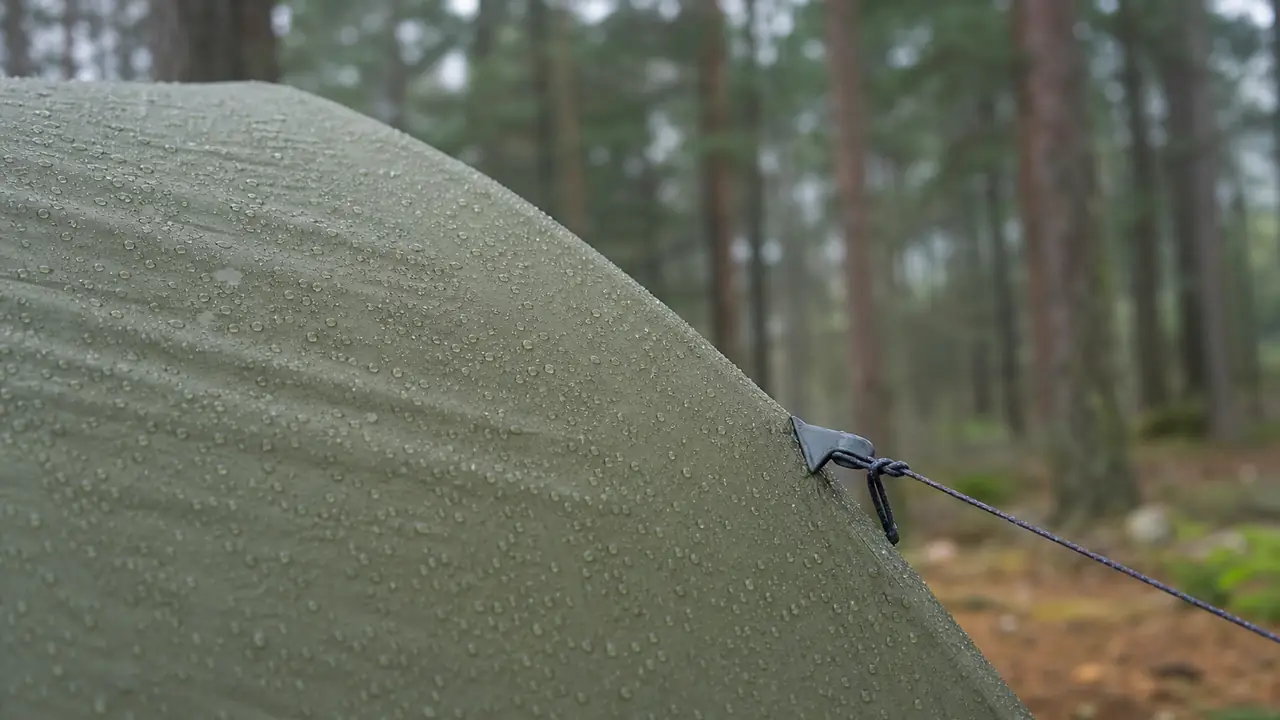
What guy lines actually do
A guy line runs from a point on the tent or canopy to a stake in the ground. It does three jobs. It spreads wind load from the poles or frame into the ground, so the structure does not carry it alone. It holds the fly away from the inner tent, so rain does not wick through by contact. And it keeps the fabric taut, which stops it flapping, reduces noise and slows wear on seams and pole sleeves. A tent that is only staked at the floor corners relies entirely on its poles once the wind builds; a guyed tent shares that load.
Guy lines are not a wind rating. No common test turns a number of guy points into a wind figure for a tent, and the desk does not give one. What a buyer can specify is the anchoring plan: how many points, where they sit, what cord and tensioners they use and how the instructions explain them.
Guy-out points
A guy-out point is a loop, ring or webbing tab sewn to the fly, usually at a pole or seam where the load can travel into the frame. Good points share three features. They are placed where they pull along the line of a pole or seam, not across a bare panel. They are reinforced with an extra fabric patch and bar-tack stitching. And they are sealed where the stitching passes through the fly, so they do not become a leak point; see tent seam taping.
The number of points follows the structure and size. The reference models from public listings give a sense of the range:
- A four-person dome reference model ships with 2 guy lines, enough for the windward side in normal use, with further guy-out points that can take extra lines.
- A shower and privacy tent reference model uses 4 guy lines on a 120x120 cm footprint, because a tall, light shelter needs holding on every side.
- A five-metre bell tent reference model uses 12 guy lines around its canvas wall, which spread the pitched footprint to about 7 m across.
- A 10x10 ft commercial canopy reference model ships with one stake and one guy line per leg.
For tents sold into windy or exposed markets, the desk often recommends adding more guy-out points to the fly at the sample stage, even if only some of them get lines in the box.
Cord, tensioners and markings
| Component | Common options | What to check |
|---|---|---|
| Cord | Polyester or nylon braided cord, plain or reflective | Diameter, length, low stretch when wet, colour |
| Tensioner | Plastic or aluminium sliders, line-lock adjusters | Grip on the chosen cord, no slipping under load |
| Attachment | Pre-tied to the guy-out point or packed loose | Knots secure, ends melted to prevent fraying |
| Visibility | Reflective tracer or bright colour | Visible at night, reduces trip hazards |
| Storage | Small loops or pockets near each point | Lines can be stowed without tangling |
Cord diameter and tensioner have to match. A slider designed for a thicker cord will slip on a thinner one, and a slipping tensioner is worse than none because the user thinks the line is holding. The sample is the place to check this, by tensioning each line and leaving the tent pitched overnight.
Length and layout on the ground
A guy line works best when it runs out from the tent in line with the seam or pole it is attached to, at a moderate angle to the ground. Too steep and it pulls the tent down without holding it sideways; too shallow and it takes up a large footprint and becomes a trip hazard. Cord length should allow that layout on the tallest point of the tent with spare length to tie off, and the instructions should show the layout with a simple diagram.
Footprint is a real selling issue for large tents. A bell tent fully guyed out needs a much wider pitch than its floor, and campsite pitches or glamping platforms have to allow for it. Listing the guyed footprint, not only the floor size, avoids complaints from customers who find their pitch too small.
Tensioning through the day
Fabric changes length with temperature and moisture. Polyester changes little; nylon stretches when wet, and cotton canvas shrinks when wet and relaxes as it dries. Guy lines need re-tensioning as the conditions change, and canvas bell tents in particular need slackening in rain and tightening as they dry. The care card should explain this in plain words. Corner tension straps on the fly do a similar job at ground level and are worth specifying on domes and cabin tents.
Instructions should also tell users where to start. Pitching the windward side first, staking the corners, then running the main guy lines before the secondary ones keeps the tent under control while it goes up. A short sequence printed on the bag label is often more useful than a long manual nobody reads at the campsite.
Guy lines on canopies
On soft ground, a canopy leg is staked at the foot and a guy line runs from the top corner of the frame to a second stake. On hard surfaces there is nothing to stake into, so leg weights take over; about 40 lb (18 kg) per leg is a common industry convention, not a regulation. Either way, canopies should be taken down when wind is strong. See canopy weights per leg.
Putting it on the spec sheet
- Mark every guy-out point on the drawing and state its reinforcement.
- Specify cord type, diameter, length, colour and any reflective tracer.
- Name the tensioner and confirm it grips the chosen cord.
- State how many lines are pre-attached and how many are packed loose.
- Show the guyed layout and footprint in the instructions.
- Count lines and tensioners in sampled cartons at pre-shipment inspection.
These items rarely change the base price much, and they change how the tent performs a great deal. For the full anchoring method, read anchoring and wind and the weather and wind guide. Existing styles with your branding typically start at 300-500 tents per style, confirmed in writing per order; see MOQ and lead time. Send the anchoring list with your brief through the quote form.